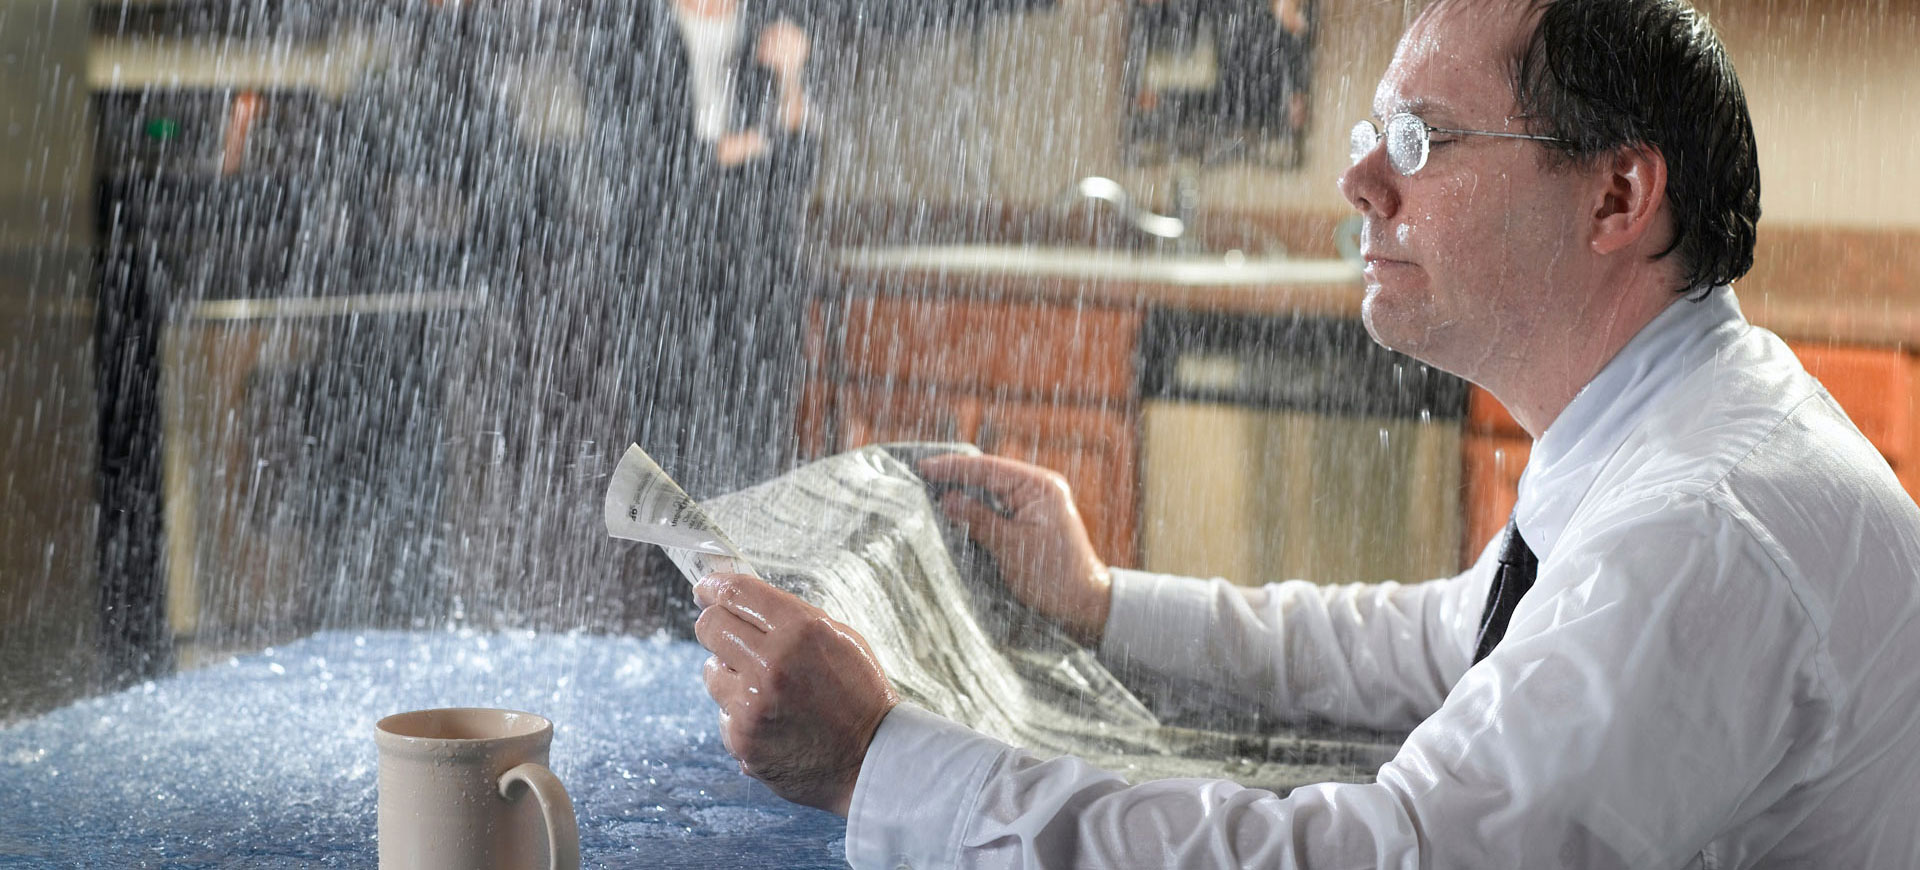
Roof leaks rarely originate where water becomes visible. Moisture can travel along decking, framing, and insulation before showing signs inside your home or building. Our leak detection process is designed to locate the true source of the problem—not just the symptom—so repairs last.
When you report a suspected leak, we gather key details such as where water appears, when it started, recent weather events, and any visible roof damage. This allows us to identify likely vulnerability zones before inspection begins.
We begin inside the structure, inspecting ceilings, attic spaces, insulation, and framing for moisture stains, discoloration, mold indicators, or active water trails. Tracing moisture upward helps identify the likely entry point.
Next, we thoroughly inspect the roof exterior, including shingles or membrane, flashing, penetrations, valleys, ridges, gutters, and drainage points. We look for damaged materials, lifted edges, deteriorated sealants, and debris buildup.
When necessary, we use professional tools such as moisture meters or infrared imaging to detect hidden moisture beneath roofing layers. For complex or flat roofs, targeted non-destructive testing may be used to pinpoint defects.
We document findings with photos and notes, then outline recommended repairs or replacement options. You’ll receive a clear explanation of the issue, scope of work, timeline, and cost before any work begins.
Once approved, we complete repairs with care, protect your property, and keep the site clean. Afterward, we perform a final inspection and provide maintenance guidance to help prevent future leaks.